


Submitted by South Sound GREEN
In the face of COVID-19 and recent stay at home order, parents and guardians may find themselves looking for activities that not only keep students engaged, but also provide information about local environmental science and concerns. In our South Sound GREEN Home Science Project series, we will introduce and demonstrate various hands-on and at-home activities for children of all ages to do either indoors or outside!
![]() This time we’re learning about how seeds work and how to design your own seeds!
This time we’re learning about how seeds work and how to design your own seeds!
Seed Engineers
Grade Level: 3rd-5th
Materials
- Whatever you have! Suggestions will be provided in the Procedure section below.
Background
We’ve talked about pollinators and pollination in a few previous activities (such as Pollen, Pollen Everywhere and Spot the Pollinator). But after a plant becomes pollinated, what happens? Often, these plants produce seeds!
A seed is the part of a flowering plant that can become a new plant. Seeds are considered dormant, which is kind of like being in a deep sleep. These dormant seeds exert no energy until they experience the right conditions for growth, such as the presence of healthy soil and water, and begin becoming a plant then. This means that seeds are all alive!
So now we know that seeds are alive and wait for the right environment to begin growing. But how do these seeds find the right environment? And when we say “right environment”, we’re not just talking about good soil. Too many seeds trying to grow in the same location may make it difficult for each plant to grow or receive enough resources, so plants need to find ways to spread out, or disperse, their seeds to new locations. Seed dispersal is a process that all seed-producing plants use to move their seeds around, but different plants use different methods of dispersal.
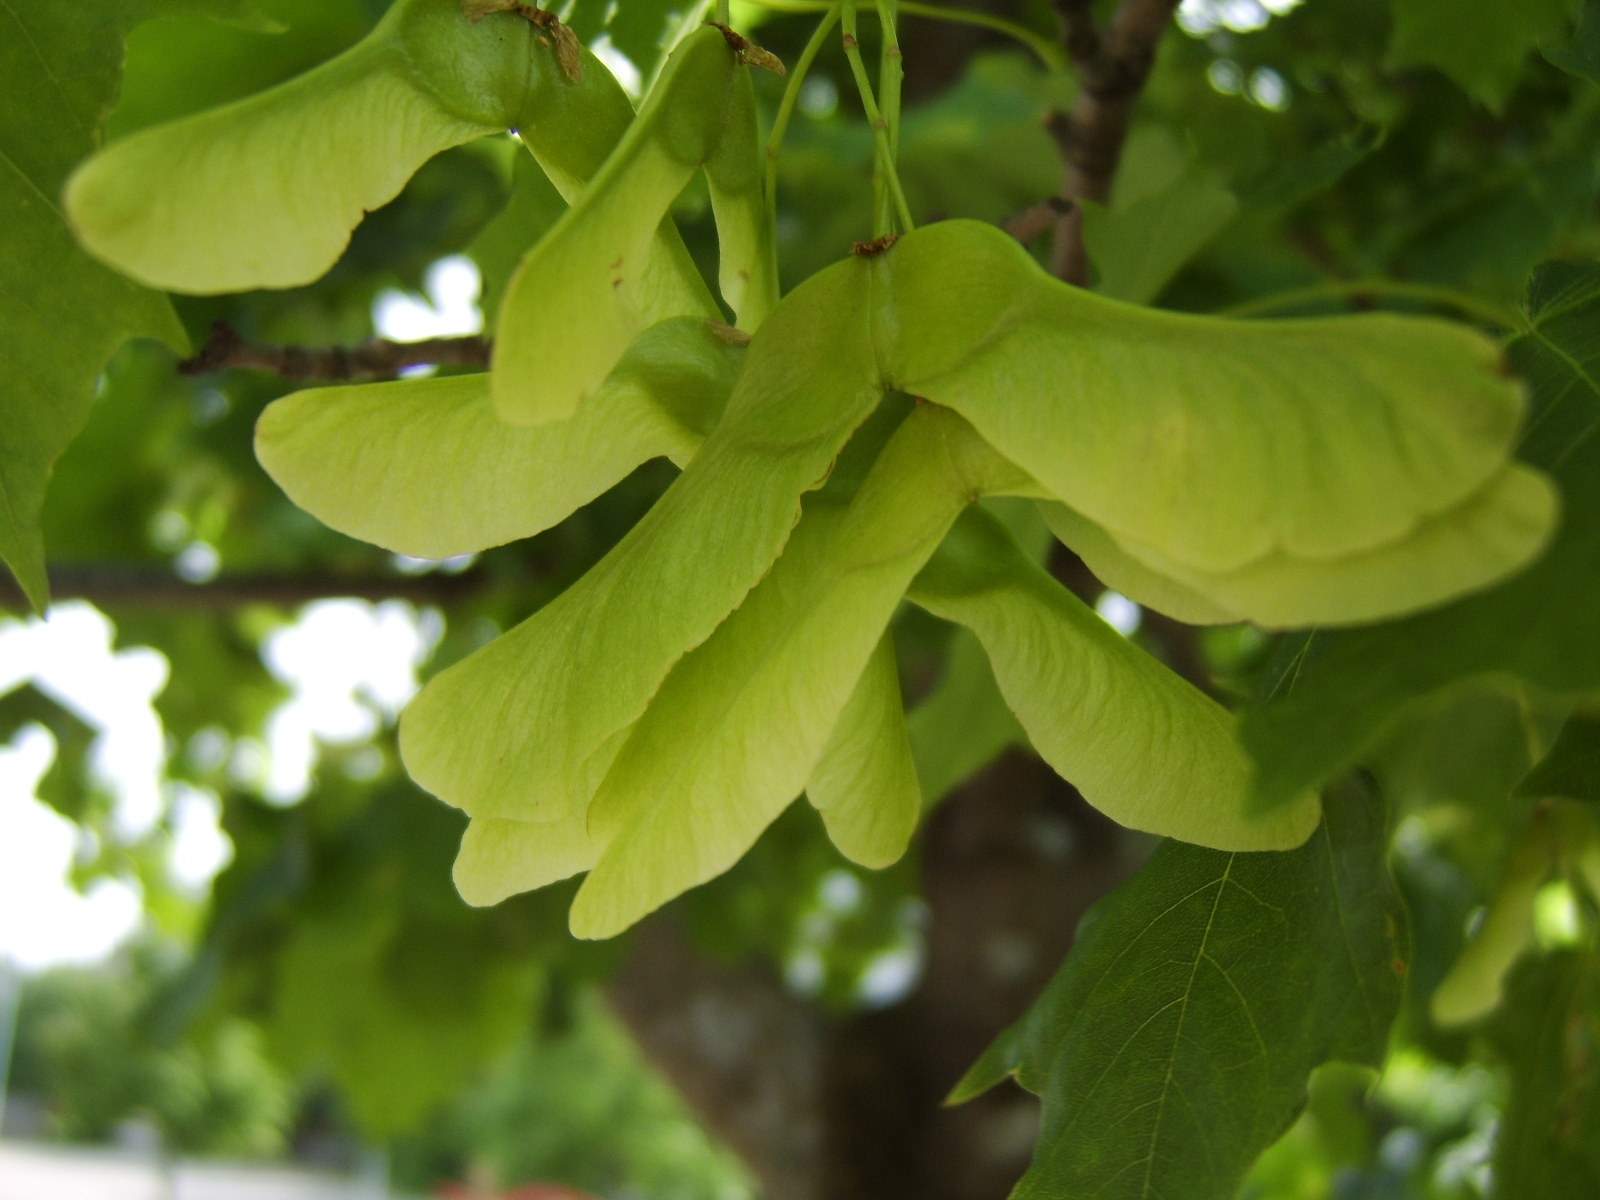
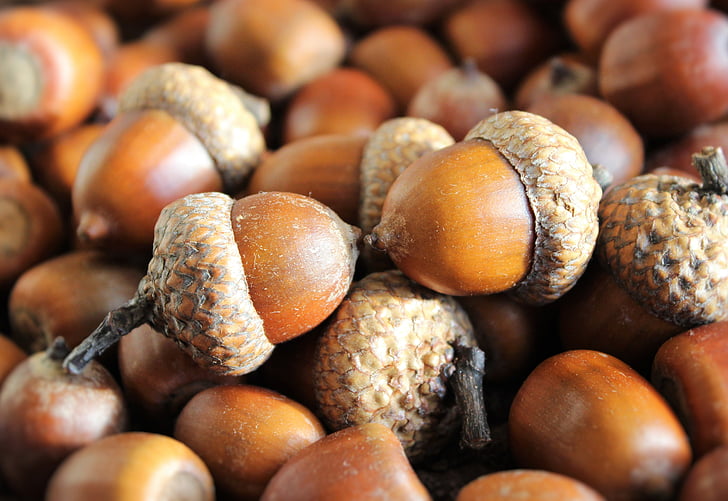
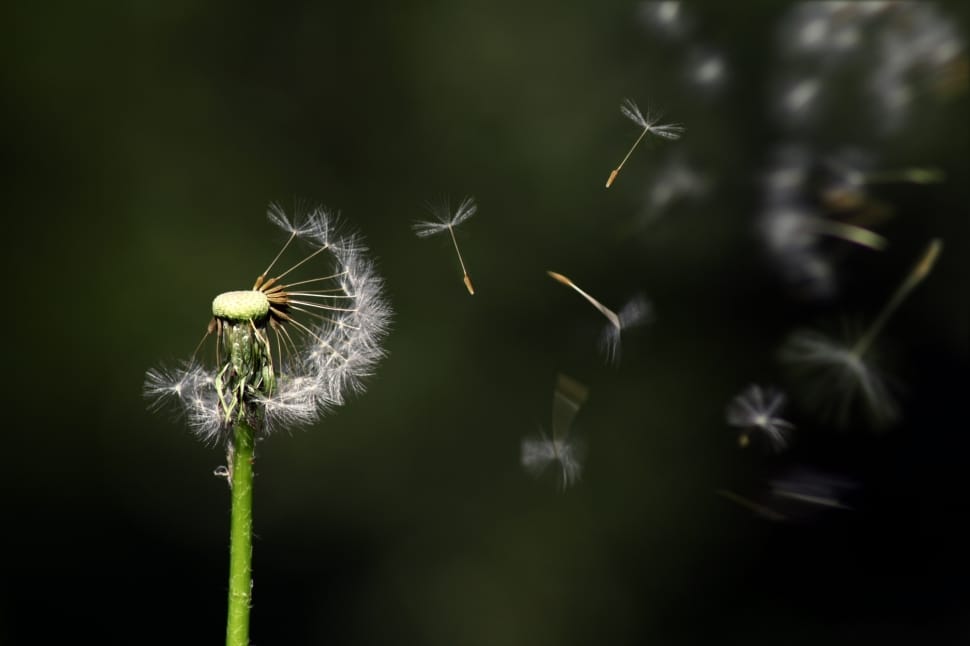
There are a few different categories of seed dispersal. One common way seeds are dispersed is by gravity – seeds falling directly to the ground. In large trees, the fall for some seeds may be pretty far, so seeds that disperse via gravity sometimes use a hard, outer shell to protect it from a hard impact on the ground (like an acorn), or use a set of “wings” to help it gently float to the ground instead (like a maple “helicopter”). Another method of dispersal is by the wind. Plants such as dandelions have really light seeds attached to features that help the seed get carried by the wind, allowing it to travel further than if it had just fallen on the ground. Animals help with seed dispersal as well – some seeds have a velcro-like outside to stick to animal fur and tag along for the ride, while other seeds get eaten along with a tasty fruit and are pooped out by the animal later! Water also helps to disperse seeds that have structures that allow them to float away and pop up as plants further downstream.
Do you think you could design your own seed and find a way for it to be dispersed? Try out our activity below!
Procedure
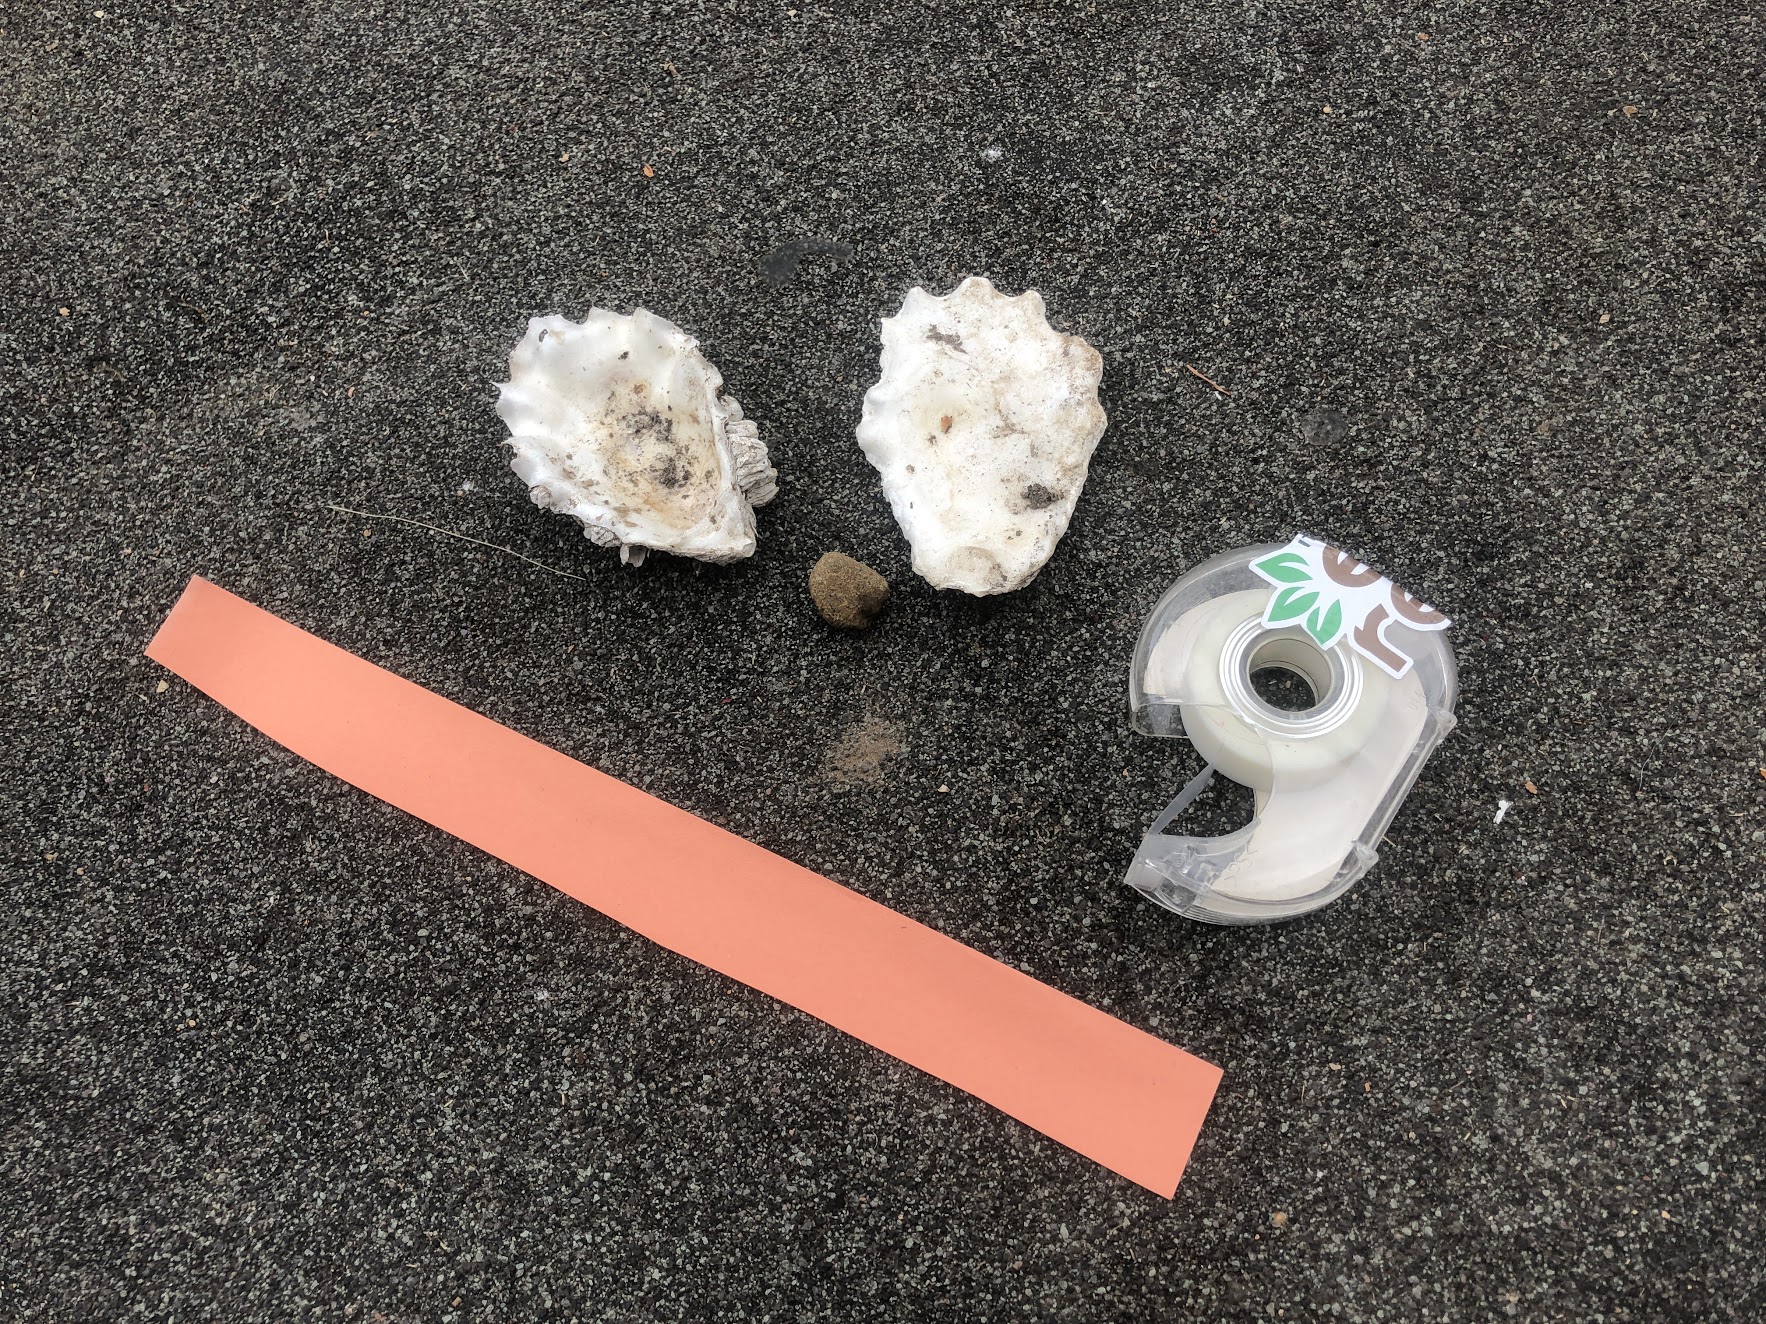
- This activity can use almost any accessible items you have in your home or a nearby outdoor space. The items presented here are just suggestions – feel free to use anything you’d like!
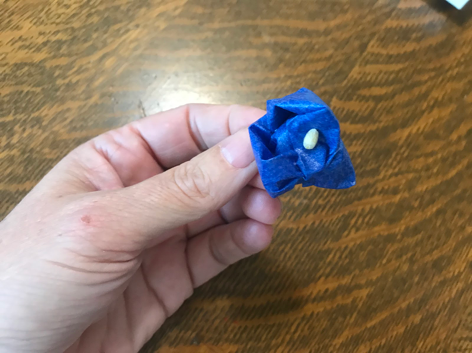
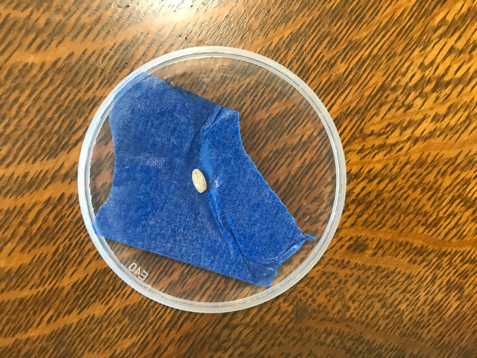
- To begin, select the item that you’d like to be your seed starter. This can be any small, singular object, such as a grain of rice, a peanut, a small rock, a marble, or even a real seed! This is what you’ll need to keep protected in order for your seed to be a success.
- Once you have your seed starter, you need to determine your method of dispersal. To get you started, here are some examples for four different methods of seed dispersal: gravity, wind, anima, or waterl
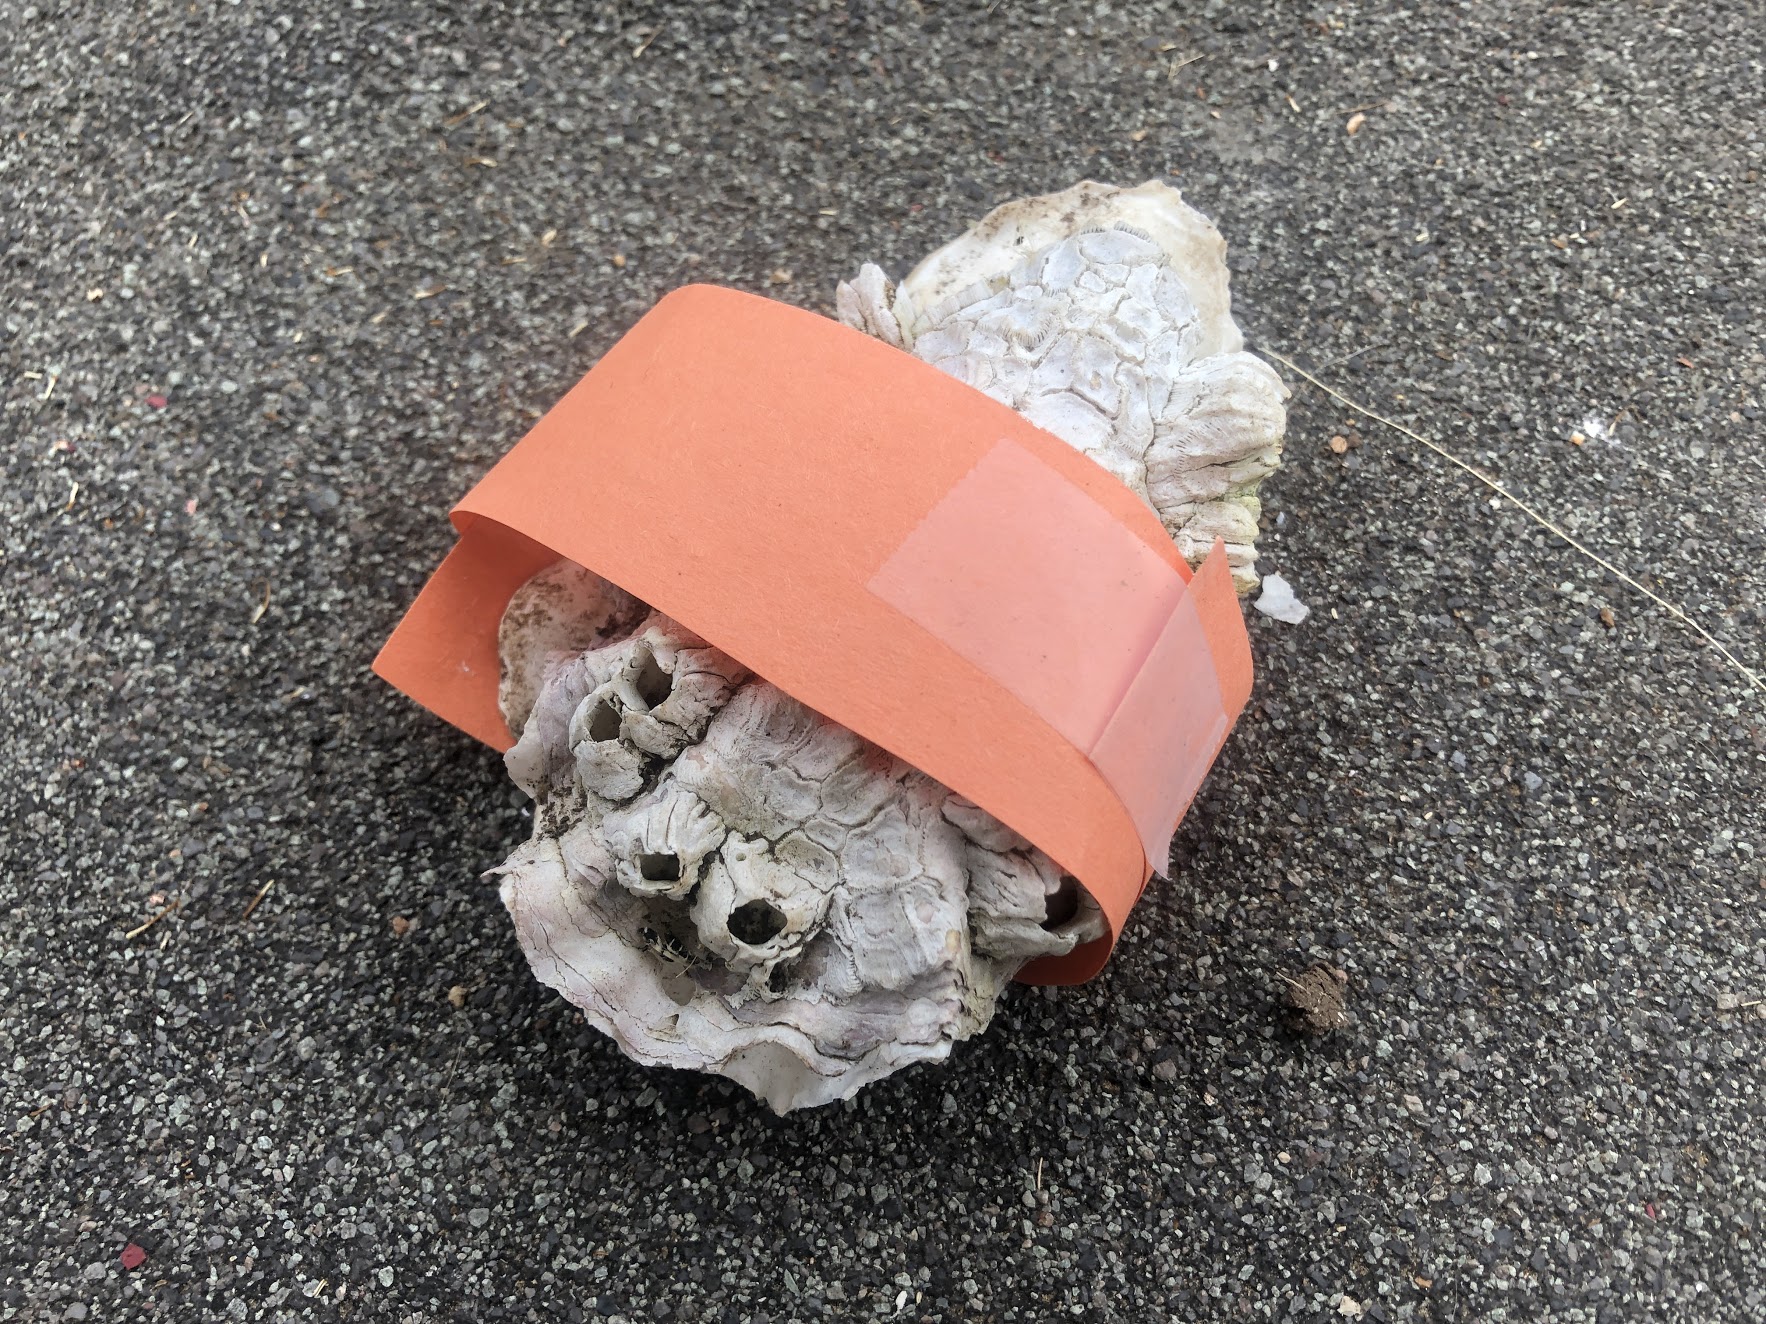
Gravity Challenge: If you select “gravity”, your seed needs to be able to survive a fall from a tall height. This can be done by creating a hard exterior for your seed, or by finding a way to slow down the seed’s fall.
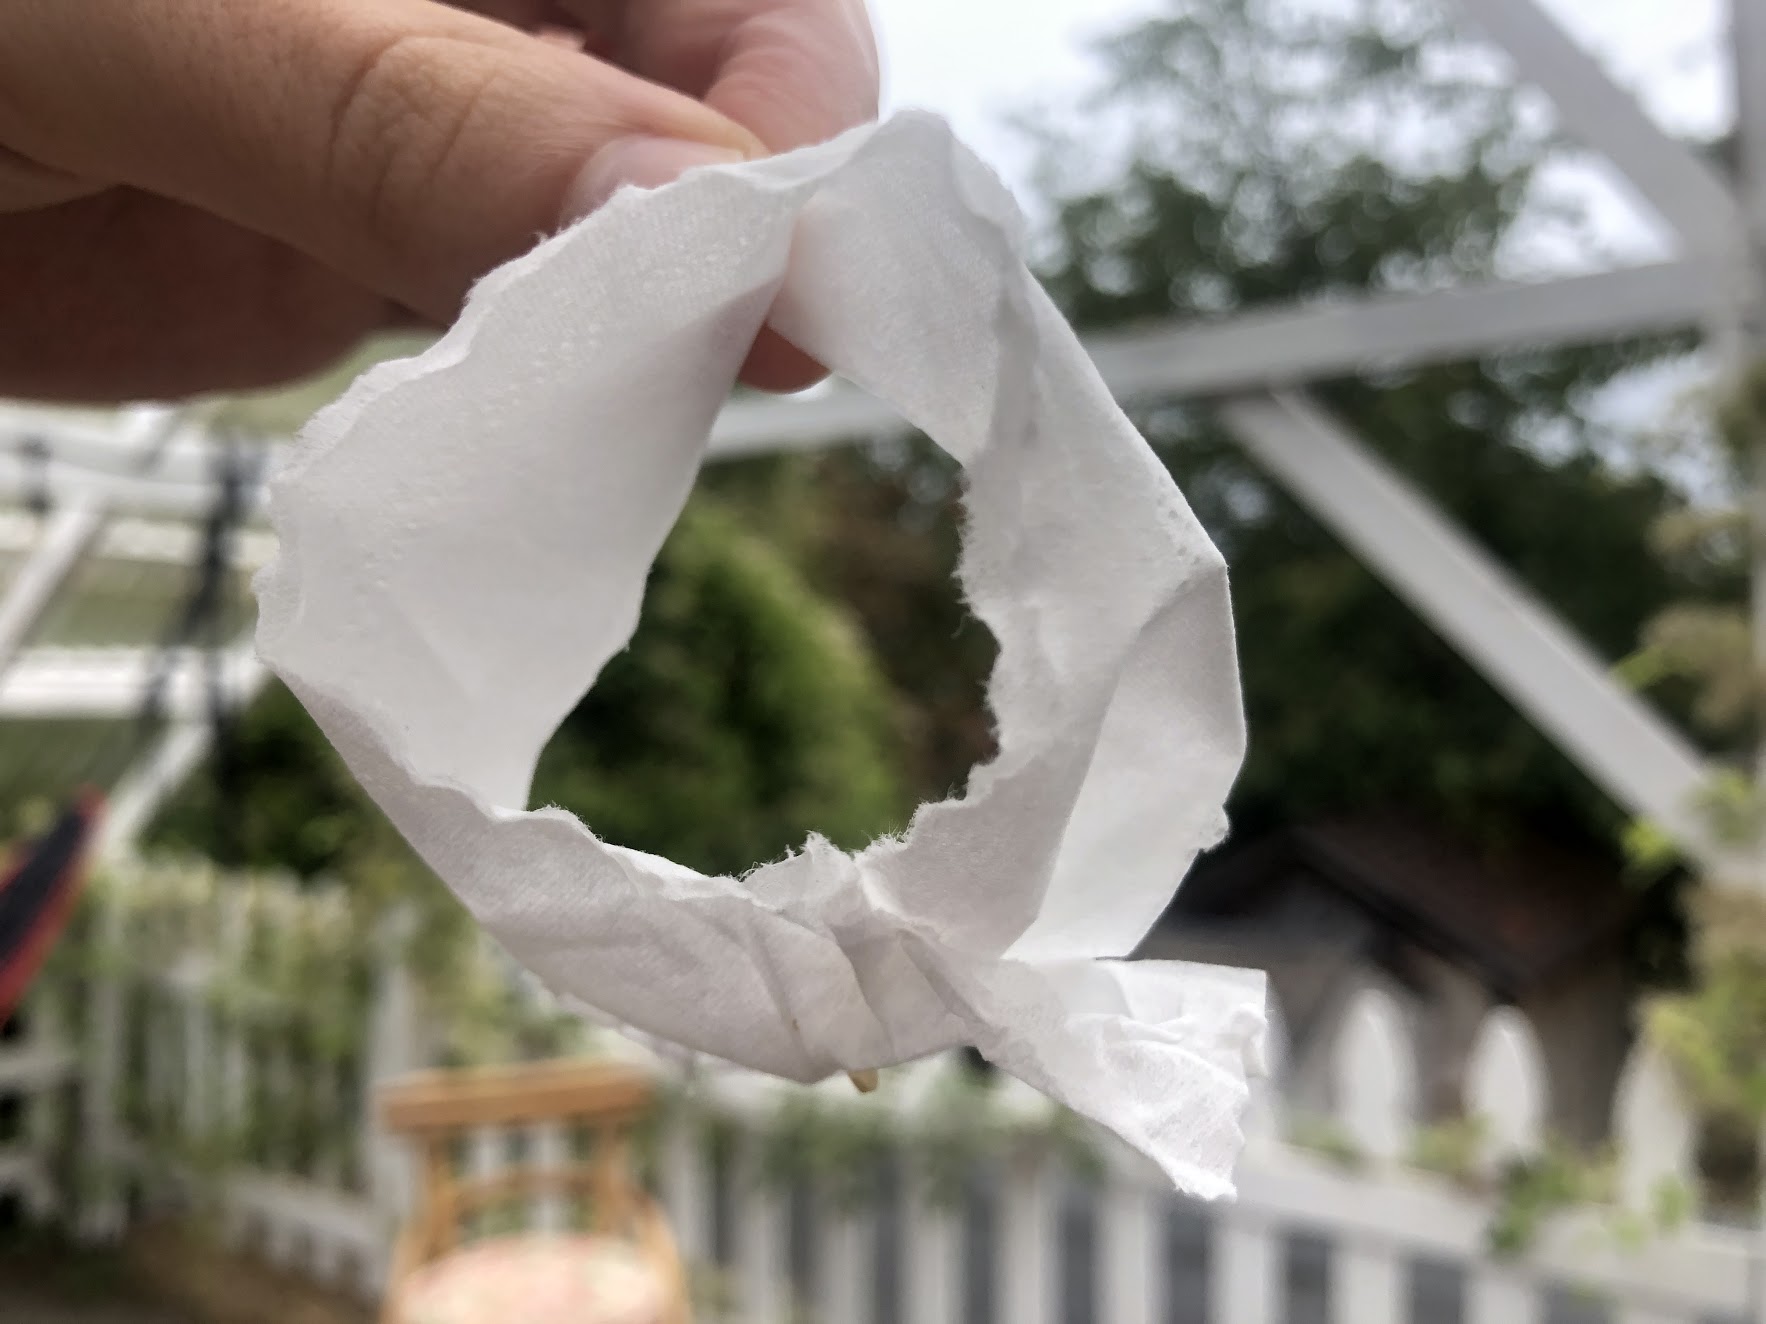
The Wind Challenge: If you select “wind”, your seed needs to have a way to be carried in the air, and needs to be light enough to stay there!
The Animal Challenge: If you select “animal”, your seed needs to either be sticky enough to get stuck on fur or tasty enough to be eaten by an animal! (do not actually eat your “seed” unless you make it entirely out of edible materials).
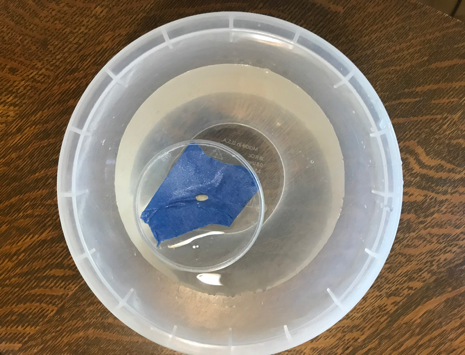
The Water Challenge: Another option that wasn’t mentioned above is dispersal via water. If you want to disperse your seed with water, your seed needs to be able to float, and needs to be waterproof!
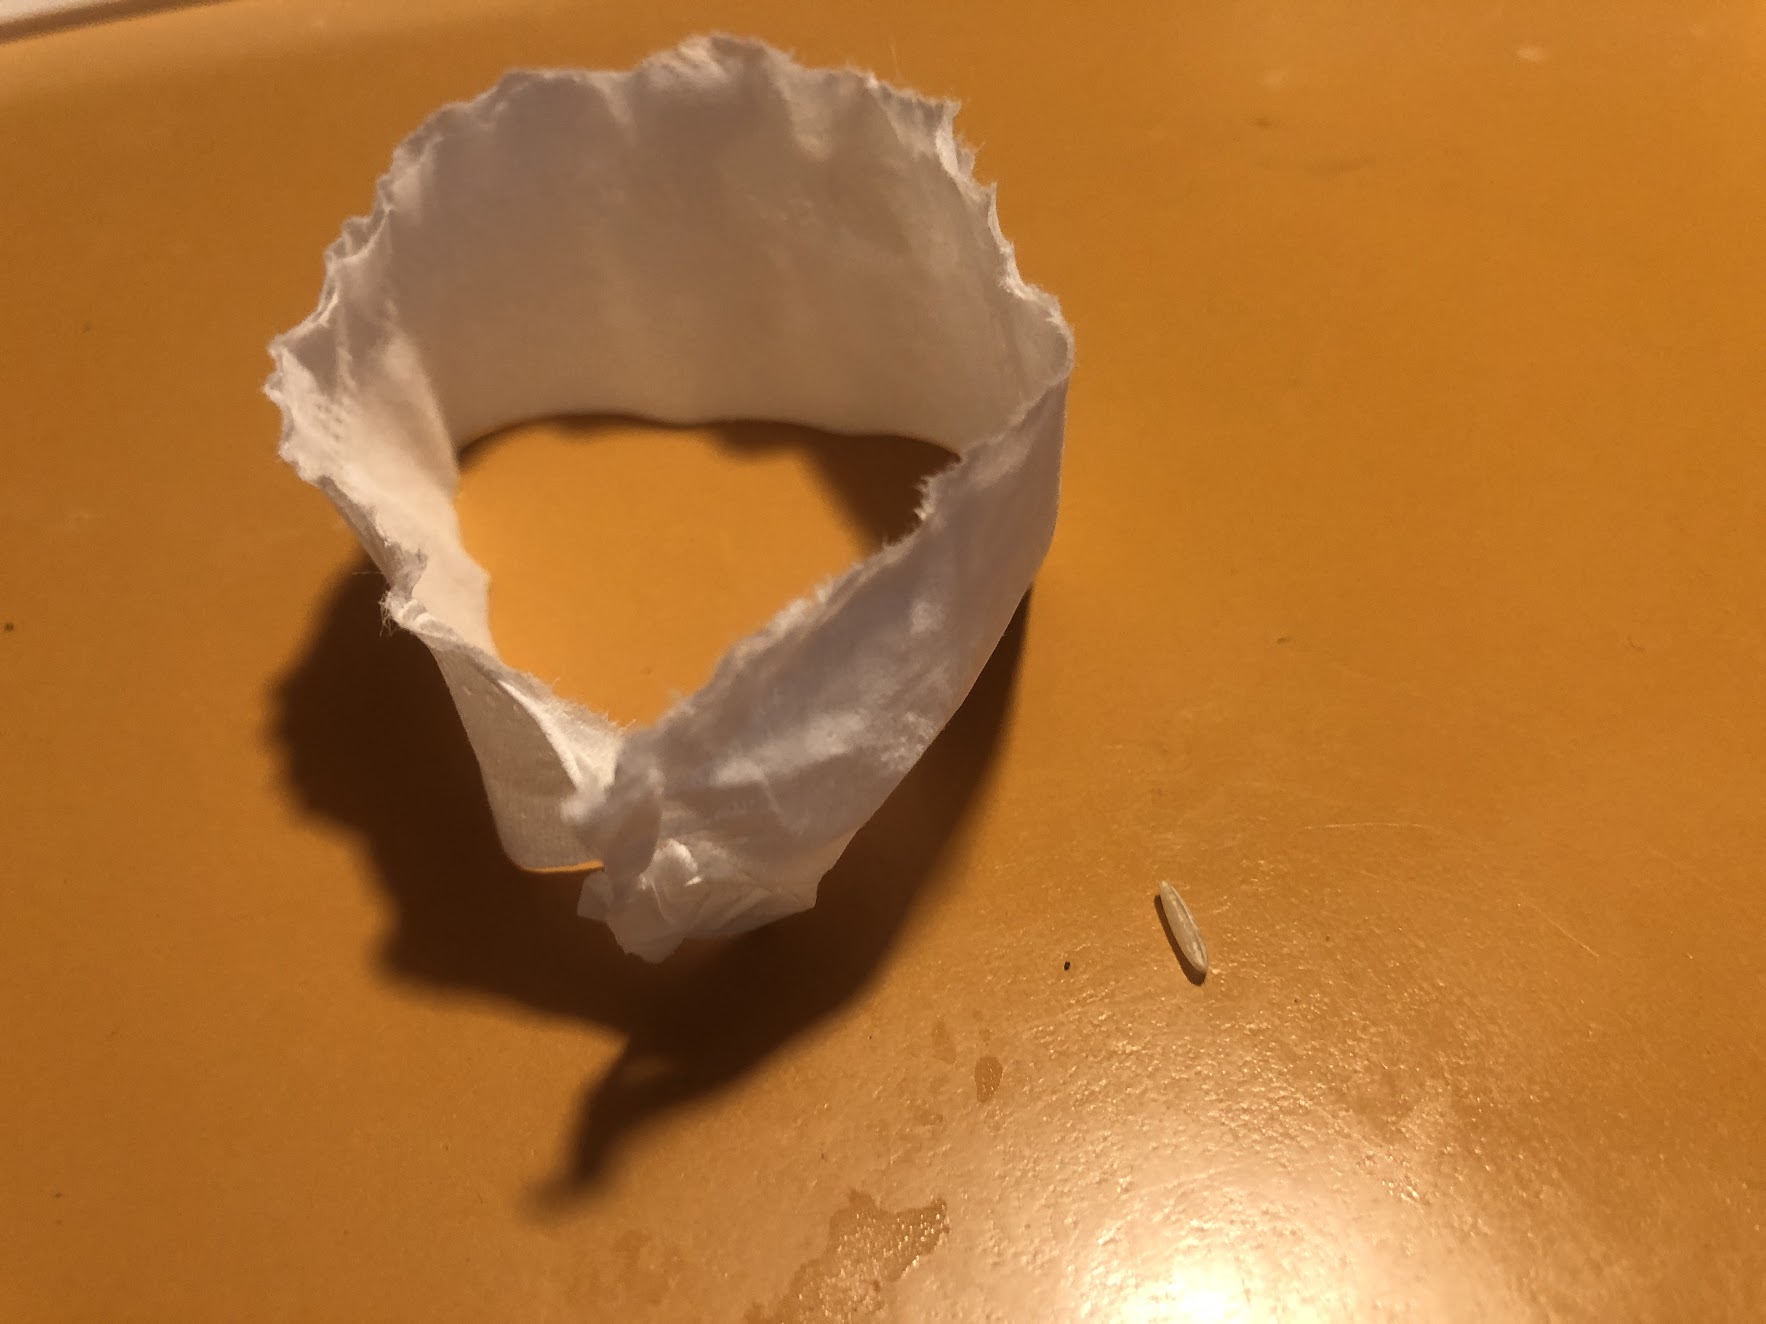
- Now that you have your seed starter and your method of dispersal, you can start building your seed! Materials such as paper, tape, velcro, styrofoam, plastic bags, twist ties, and balloons are all great to use to design your seed, but use anything that you can handle safely.
- Once you finish building your seed, test it out! It should be able to handle whatever method of dispersal you had chosen initially. For example, if you had designed your seed to be dispersed by gravity, try dropping it from a few feet off the ground. Does your seed stay intact? If so, then it was a success! For other dispersal methods, you’ll want to see if your seed can be carried by the wind, stick to other objects, or float in water! If your seed “works”, see if it can handle other dispersal methods as well!
- Create other aspects of your seed. What type of plant did it come from? Where does it usually live? What conditions does it need to grow? Does it come from a fruit or vegetable? Draw or write all of these down!
Vocabulary
- Disperse: To distribute over an area
- Dormant: Alive but in a state of slowed down or suspended functions
- Seed: A dormant plant embryo, or, the part of the plant that can become a new plant in the right conditions.
Keep Learning!
- Find as many seeds as you can in your backyard or local green space! What differences do you notice between the seeds you find? Can you figure out how these seeds might disperse based only on their appearance?
- Learn about which seeds produce native and pollinator friendly plants here! You can also find resources on this page for how to obtain and plant those seeds yourself.
- Learn about seed dispersal visually with this great video!
- Share your seeds with us on Instagram! Use the hashtag #GREENfromhome or find us at @southsoundgreen.
South Sound GREEN (Global Rivers Environmental Education Network) is a watershed education program in Thurston County that educates, empowers and connects thousands of local students in watershed studies annually. Through South Sound GREEN, participants engage in science and engineering practices related to water quality in South Sound. For more information, visit southsoundgreen.org.


