


Submitted by South Sound GREEN
In the face of COVID-19 and recent stay at home order, parents and guardians may find themselves looking for activities that not only keep students engaged, but also provide information about local environmental science and concerns. In our South Sound GREEN Home-Based Science Project series, we will introduce and demonstrate various hands-on and at-home activities for children of all ages to do either indoors or outside!
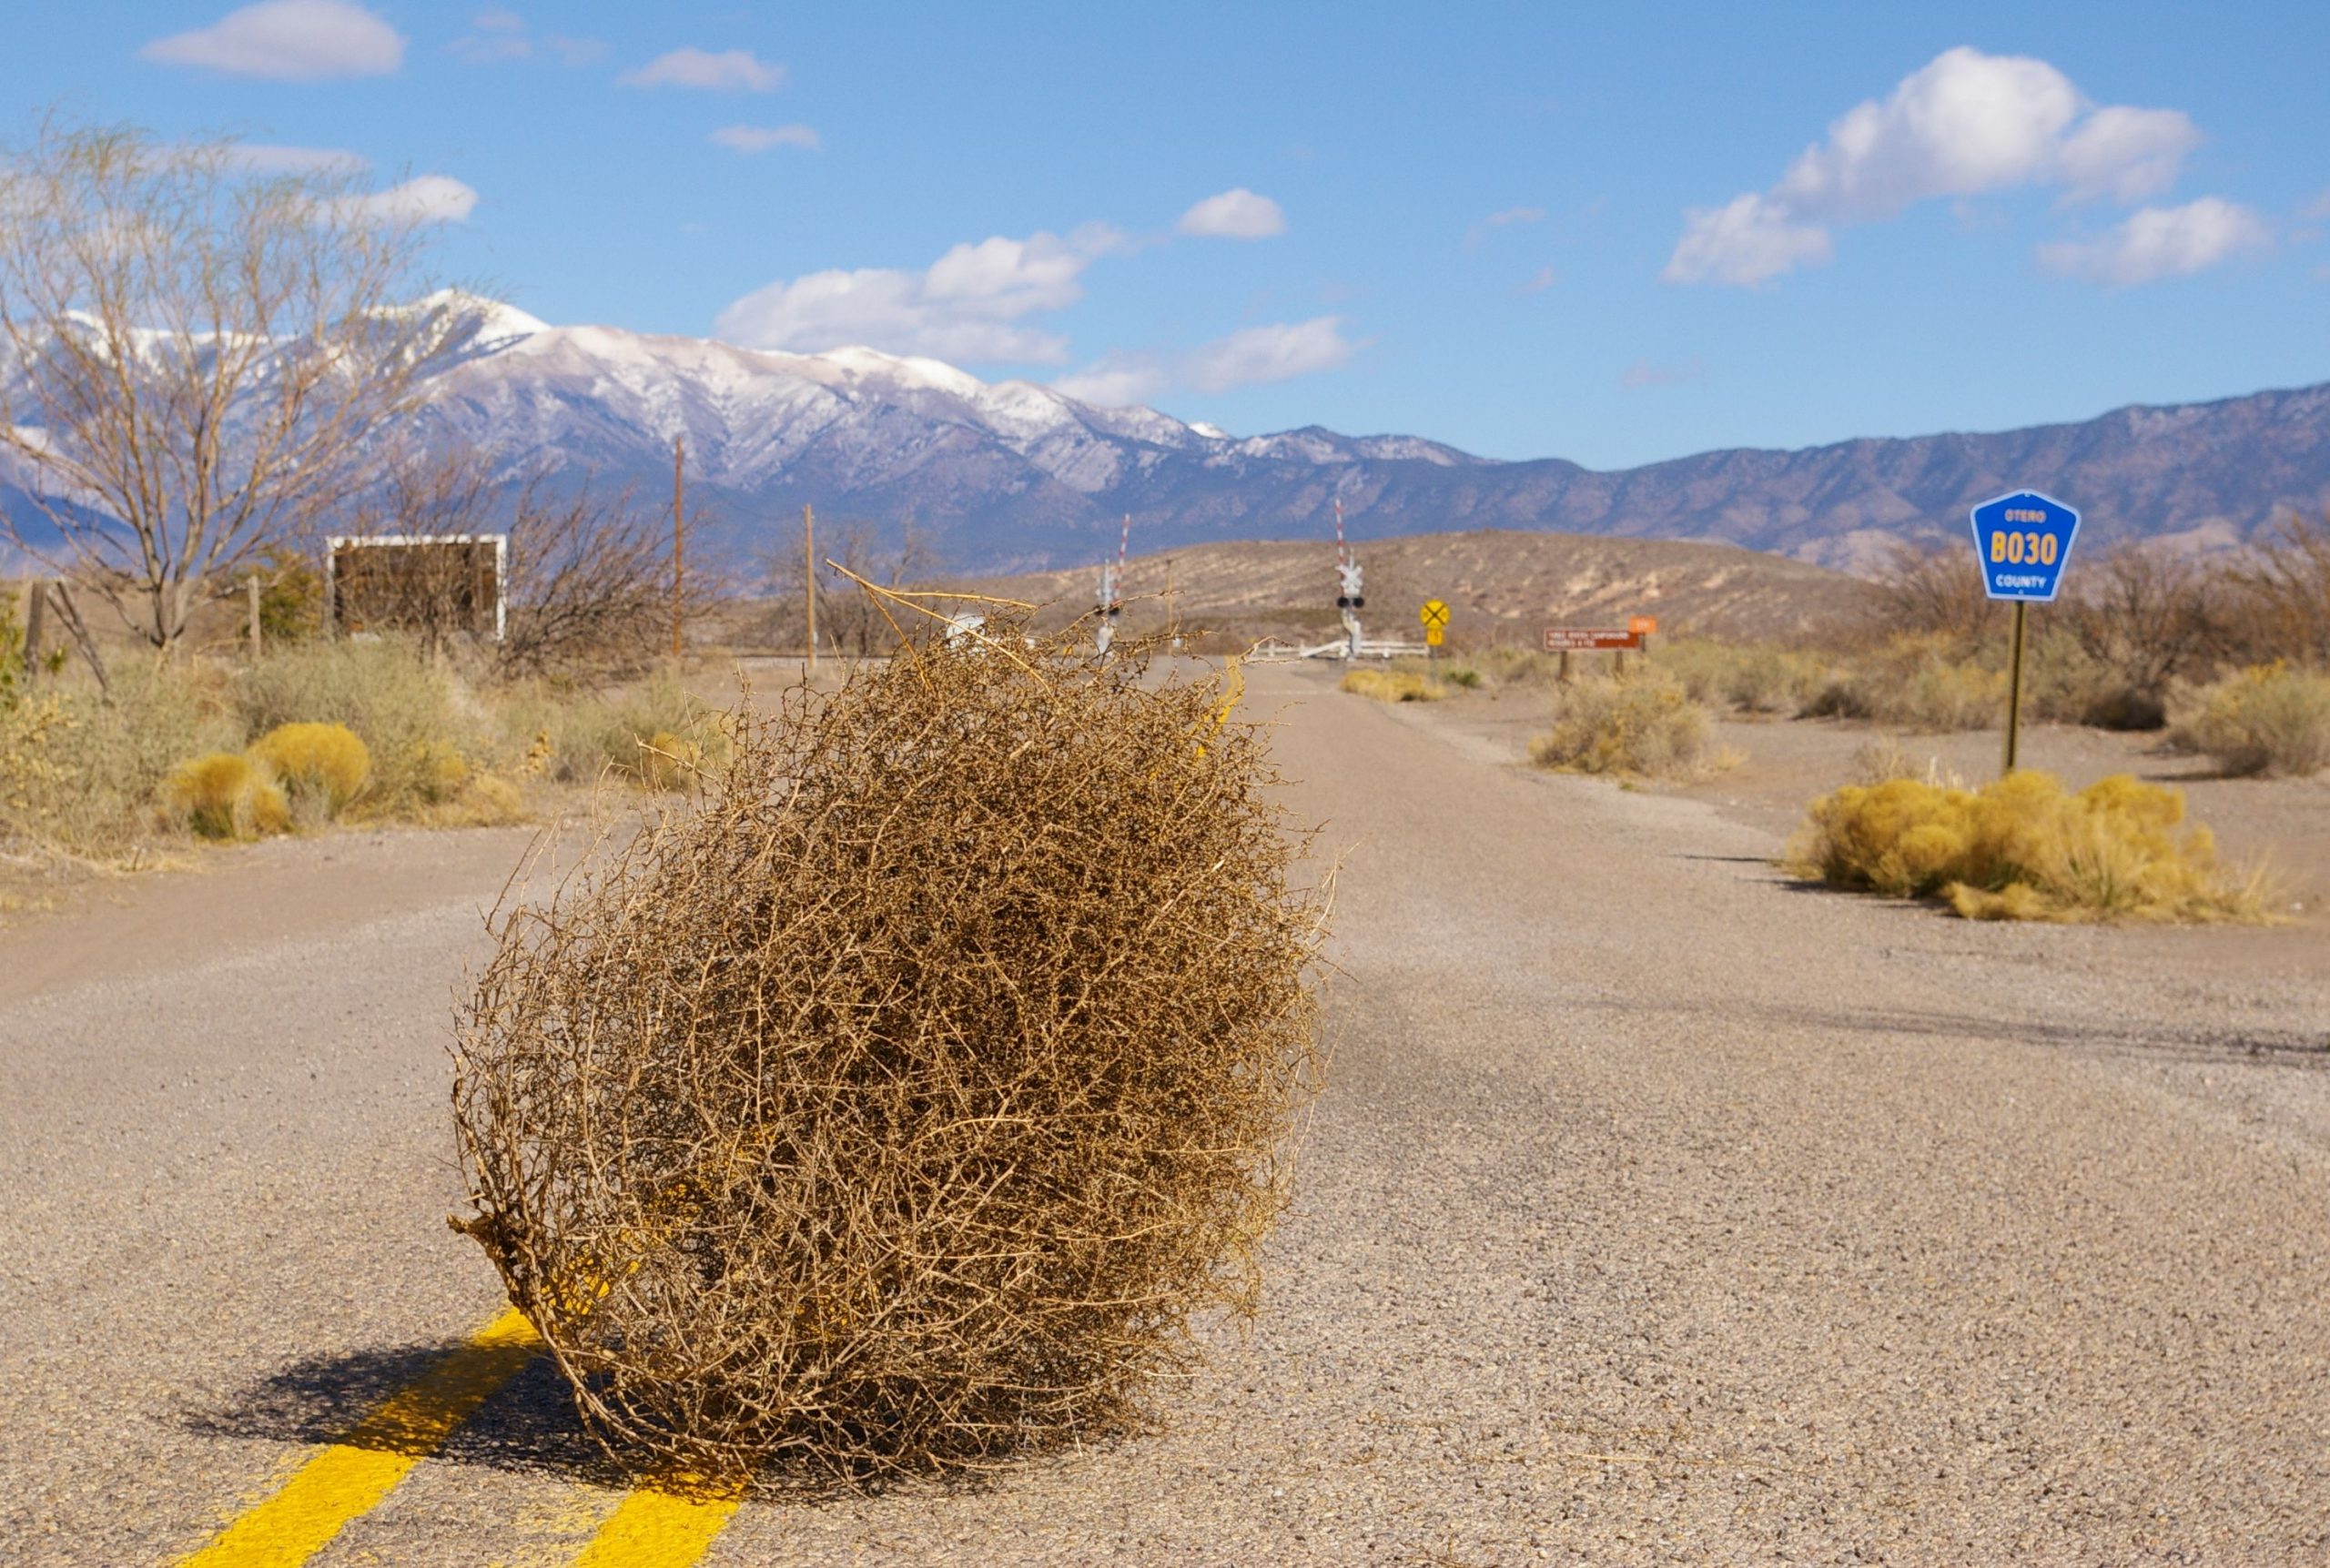
![]() This time we talk about wind, how it is important for some of our local plants, and how to measure it!
This time we talk about wind, how it is important for some of our local plants, and how to measure it!
Title: Windy Weather Watchers
Grade Level: K-5
Materials
- Pen/pencil
- Paper cups/egg cartons*
- *This can be substituted for anything lightweight and cup-shaped
- Cardboard
- Scissors
- Tape/staples
- Black marker
- Compass (optional)
Background
 Last time, we discussed pollinators, and how some plants rely on animals to carry and redistribute their pollen. But what about plants that don’t rely on animals for pollination, or live in areas without many pollinators? Often, these plants depend on the wind for pollination, letting their pollen fall and be carried by the moving air! Plants can also use the wind to help distribute their seeds and spread to new locations.
Wind might not be something you think about much on a daily basis, but is highly complex and dependent on many factors. Wind is generally caused by a difference in air pressure between two areas. Imagine blowing up a balloon – adding more and more air to the balloon increases the air pressure and causes it to expand. If you were to untie the end of the balloon, the air inside the balloon (high air pressure) would want to escape to the outside of the balloon (low air pressure). This is how wind works – when we have an area of high air pressure, that air will try to move towards a different area with low air pressure, and the wind will blow in that direction!
Wind is also affected by the local topography, or the physical features of an area. Natural features, like mountains or dense forests, and human-made structures, like buildings and bridges, can reshape and redirect wind. Wind, like water, will get faster if it is all forced through a small opening – have you ever walked through a tunnel on a windy day? The wind is usually a bit stronger in the tunnel than outside of it! We need to understand the movement and patterns of the wind before altering our environment, for the sake of us and our plants.
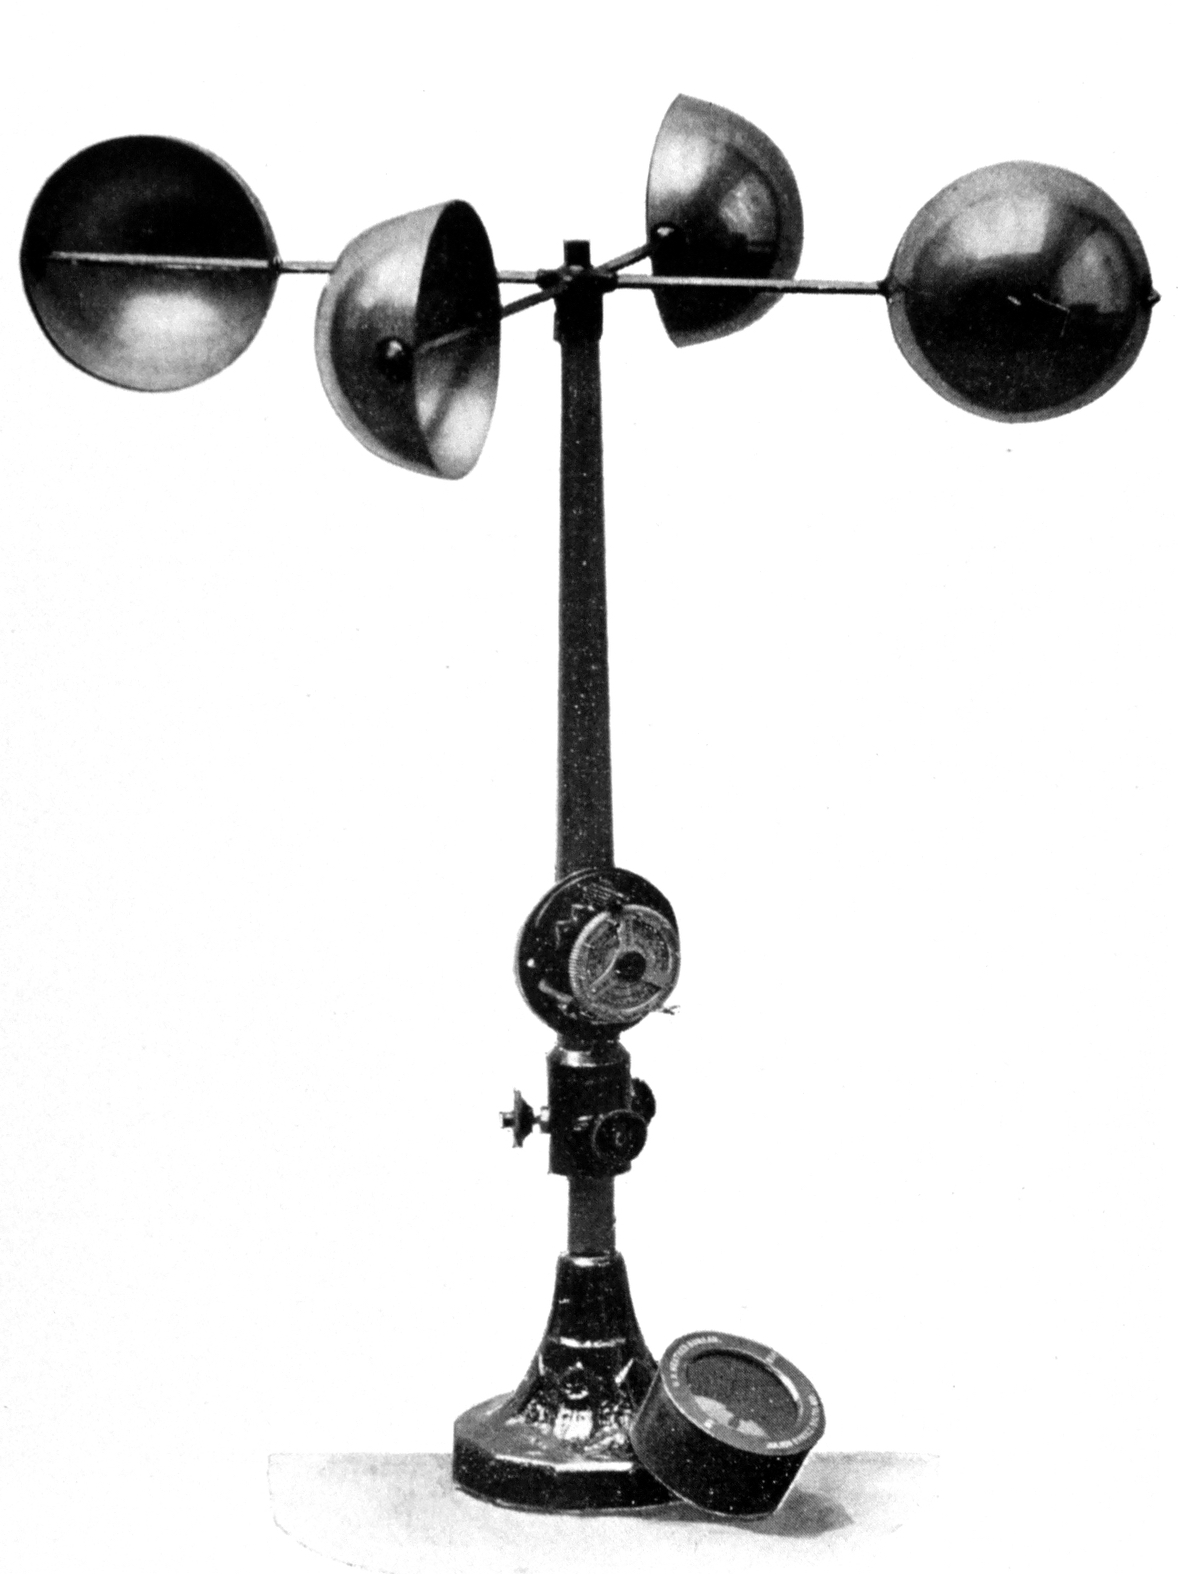
In order to be able to discuss and account for wind, we need to know how to measure it. Wind is measured as a vector – we must include both the wind direction and the magnitude, or speed. Wind direction is determined by the direction the wind is coming from, not going to. For example, if you’re facing west and the wind is hitting you directly in the face, it is a westerly wind. You can apply this naming convention to the other compass directions as well (northerly, easterly, southerly). For speed, we can use miles per hour for our units just like you would in a car. However, it’s easy to see a car moving – how can we measure the speed of the wind if we can’t see it? We use (and build) an anemometer, a device for measuring wind speed!
Procedure
- Cut a piece of cardboard (carefully!) into an “X” shape.
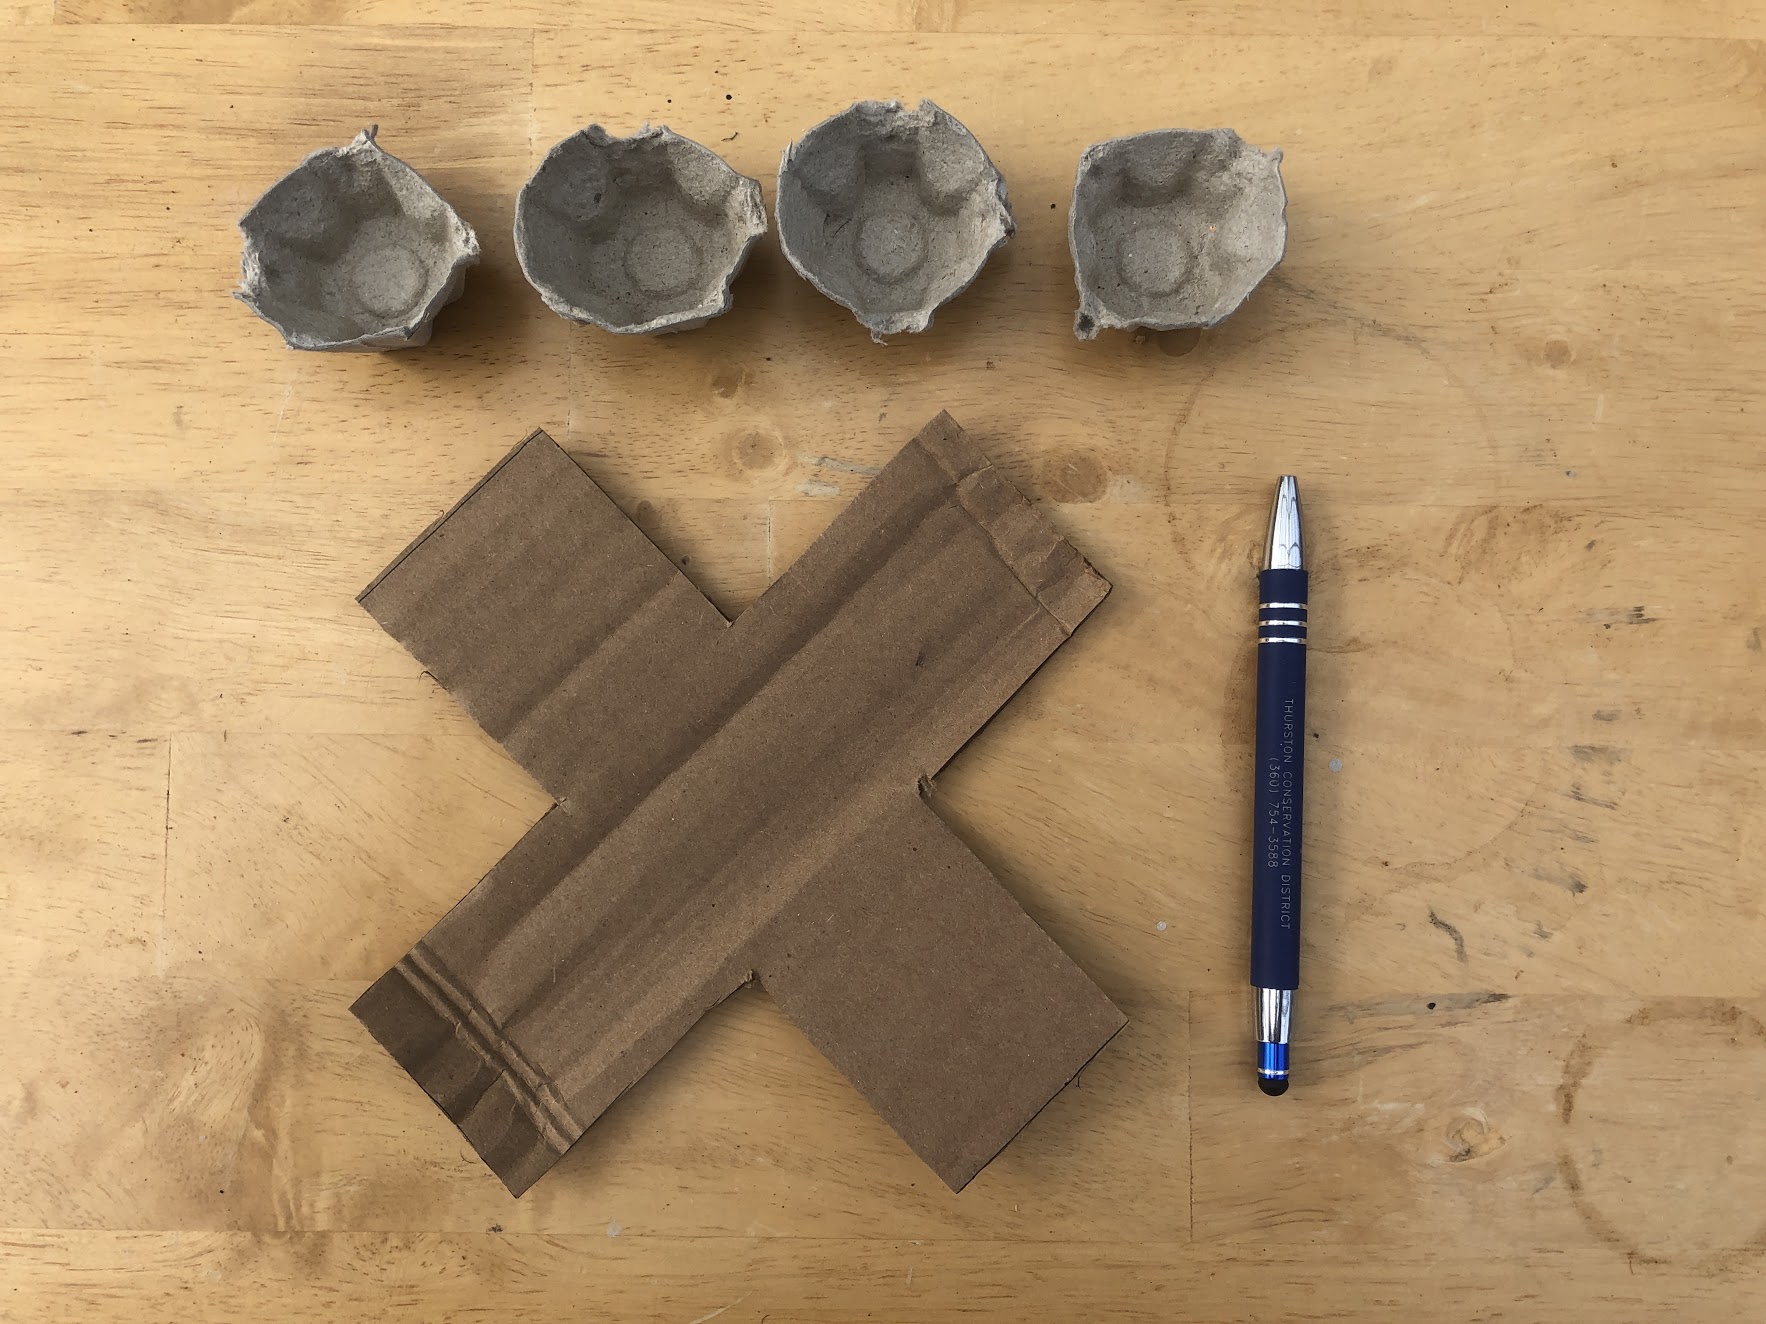
- Attach your cups or caps to one side of your cardboard “X”, making sure that they are all facing in the same direction.
- To clarify, the cups/caps need to be pointing in a direction so that if you were to rotate the cardboard “X” 90 degrees, it will look the same.

- Using a pen or pencil (or carefully using scissors!), poke a small hole in the center of your cardboard “X”.
- Rest your cardboard “X” on top of your pen/pencil with the cups/caps facing down.
- Test your anemometer by blowing on the cups. If your anemometer spins freely, it’s working!
- Draw a big dot or other noticeable shape on the side of one of your cups with a marker. This will be important for measuring your wind speed!
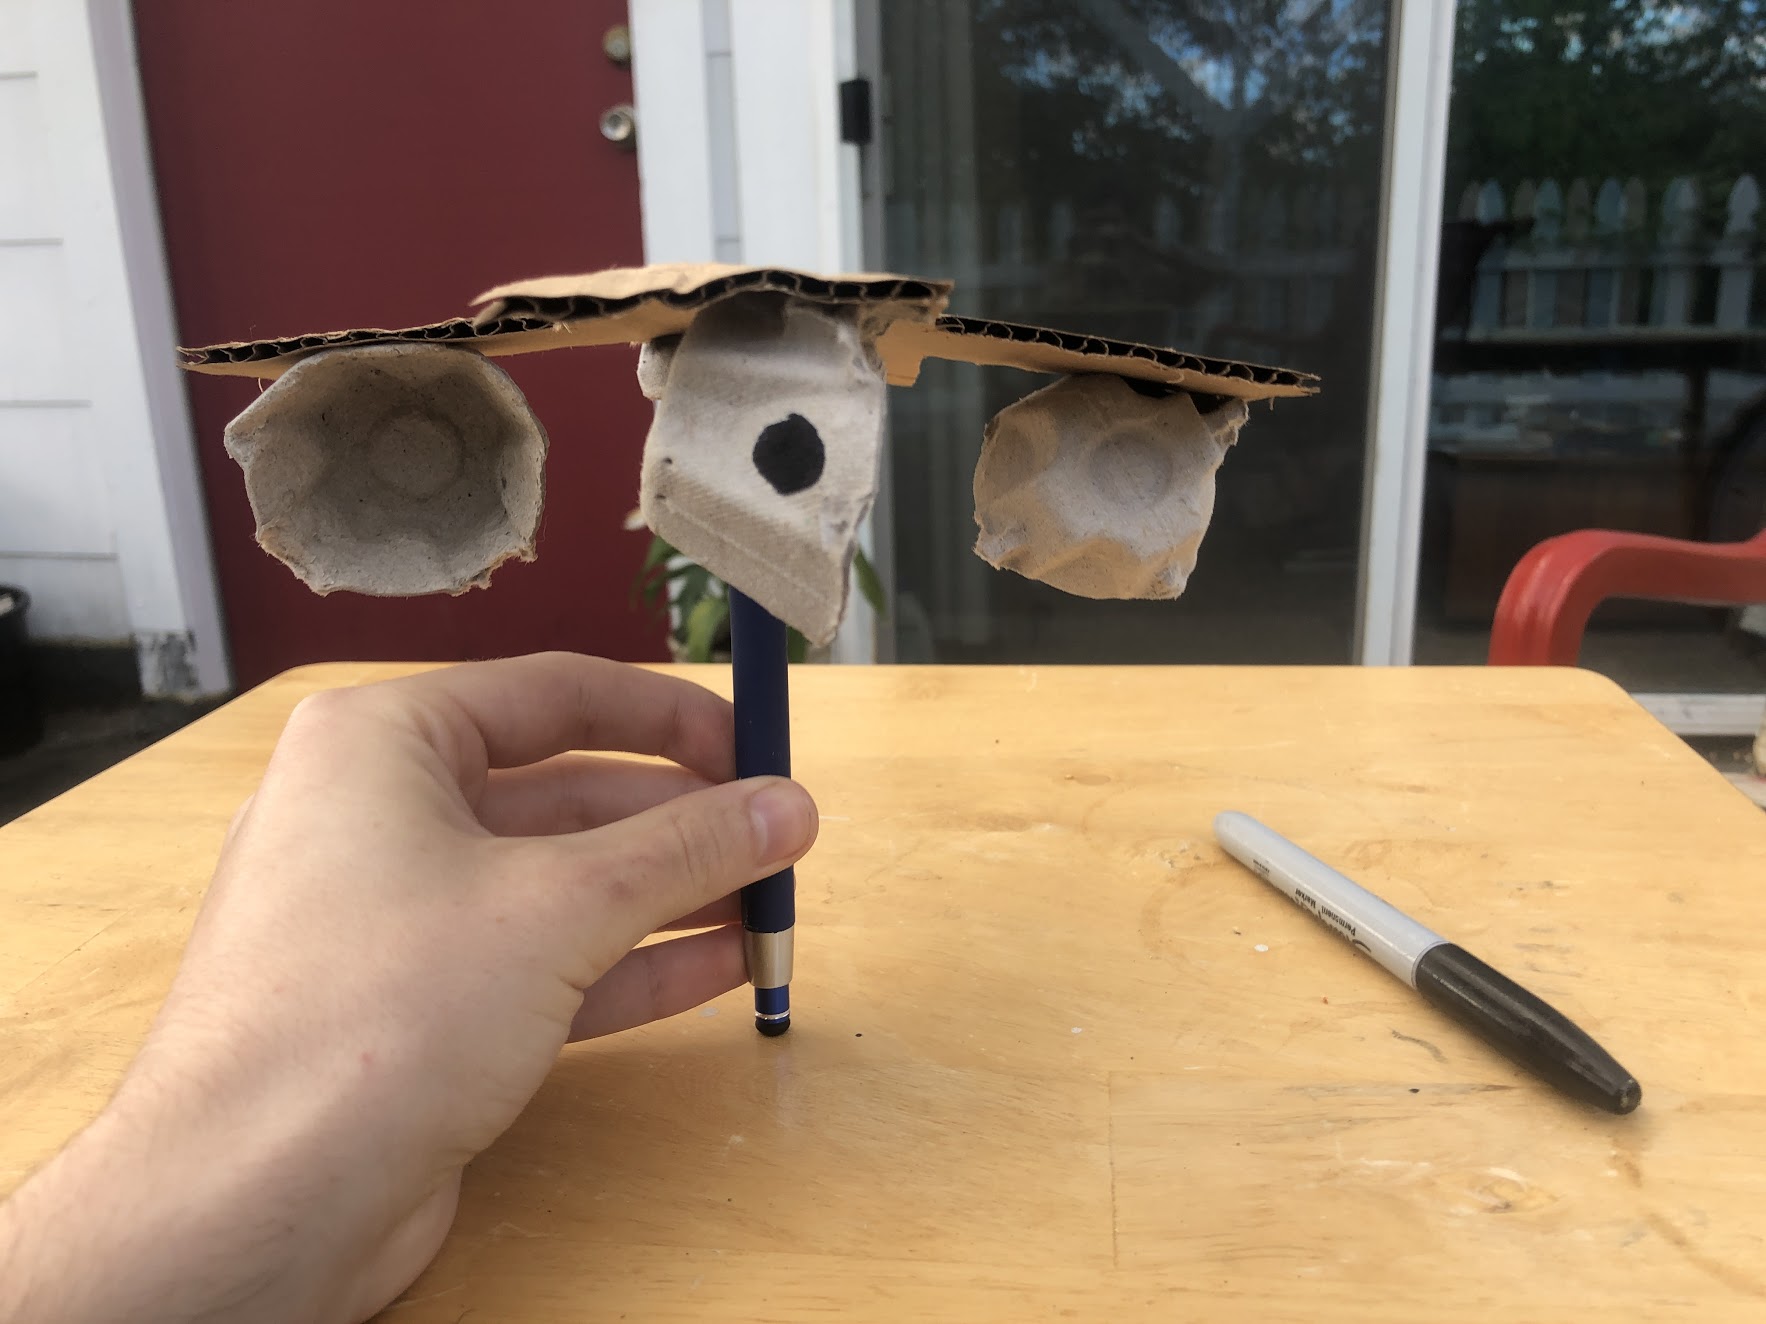
- Go outside on a windy day to test your anemometer. Hold your anemometer out in front of you with the cup with the big dot facing you. As the anemometer spins, count how many times you see the dot for one minute. Record your result as well as the time and date.
- Bonus activity: Record the wind direction as well. After using your anemometer, try to locate the direction the wind is coming from. The best way to do this is to turn around until you can feel the wind on your face and on both of your ears. Use a compass to determine the direction you’re facing, and record that along with your wind speed!
- Test your anemometer at other times, and compare the wind speed by seeing if the anemometer rotated more or less. The more rotations, the faster the wind is!
Vocabulary
- Air Pressure: The force exerted by the air or the wind. Wind will move from areas of high air pressure to areas of low air pressure.
- Anemometer: A device to measure the speed of the wind.
- Topography: The physical features of an area.
- Vector: A quantity defined by both direction and magnitude.
Keep Learning!
- For older students, if you’d like to determine your wind speed in miles per hour (mph), use the following formula:
- Calculate the circumference (in inches) of the anemometer by using 2*pi*diameter (measure the distance from one cup to the opposite cup).
- After going outside and counting the number of anemometer rotations in one minute, multiple the number by your circumference. This will give you distance (in inches) per minute.
- Now convert from inches per minute to miles per hour. Multiply by 60 (minutes) and divide by 63660 (inches). You’re done!
- Use this amazing animated wind map from NOAA to see the wind moving in the United States right now! Or check out this full world wind map!
- Share your anemometers with us on Instagram! Use the hashtag #GREENfromhome or find us at @southsoundgreen.
South Sound GREEN (Global Rivers Environmental Education Network) is a watershed education program in Thurston County that educates, empowers and connects thousands of local students in watershed studies annually. Through South Sound GREEN, participants engage in science and engineering practices related to water quality in South Sound. For more information, visit southsoundgreen.org.


