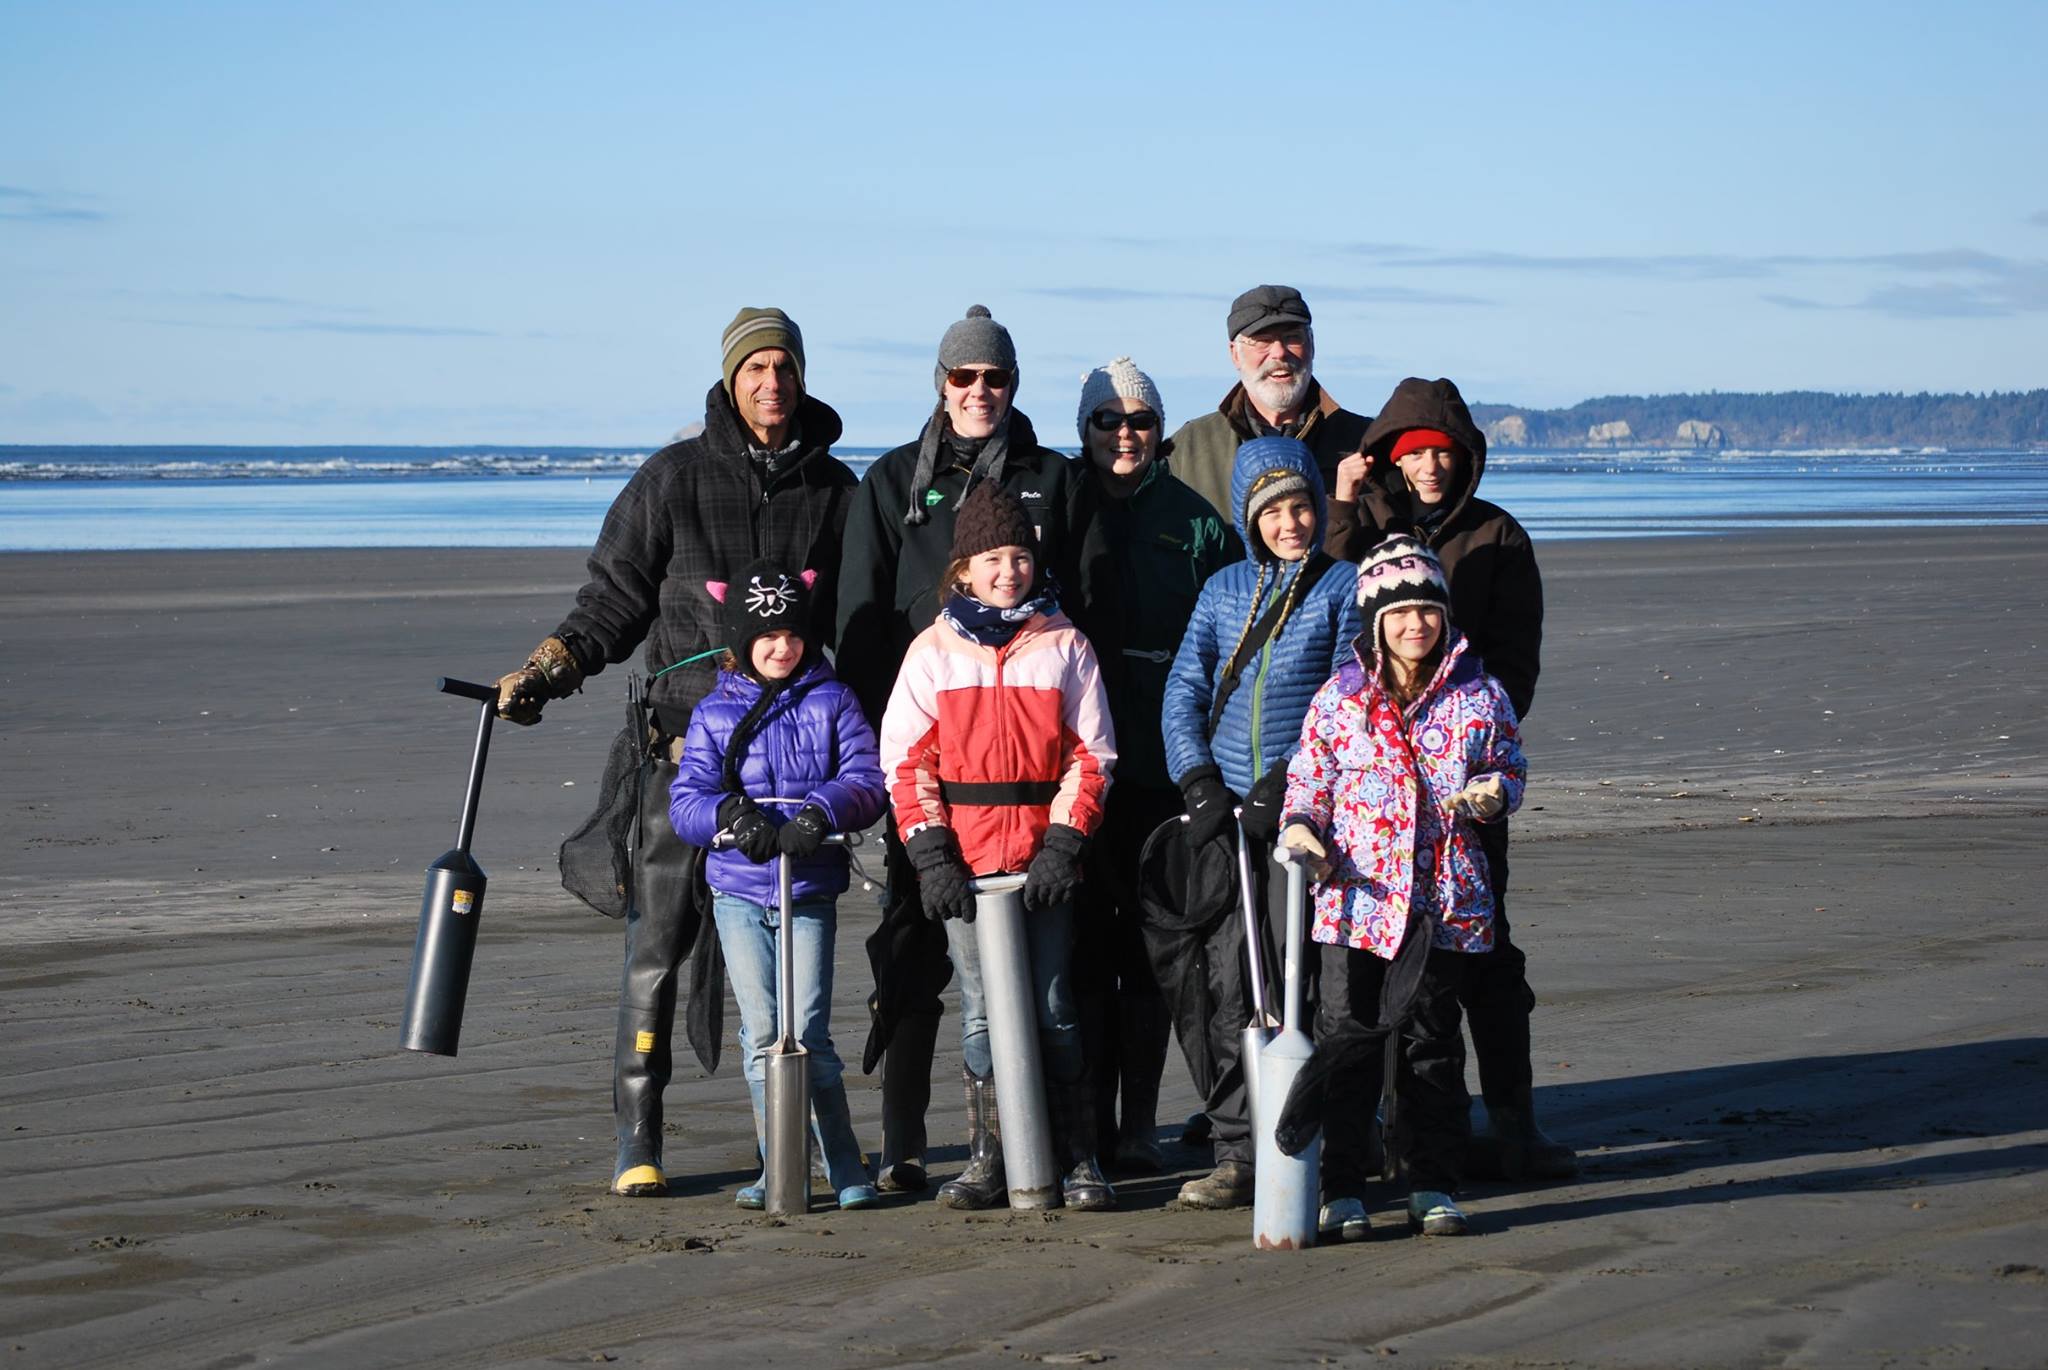
Just an hour or so from the comfy confines our our homes in Thurston County, a coastal adventure is awaiting you and your family. During the fall, winter and sometimes spring months, the Pacific Ocean beckons those looking for uniquely Pacific Northwest activities to the coast for the razor clam digging season.
![]() Head west to our nearby beaches and try your hand at finding and digging for these local, delicious mollusks. Known as razor clams and found during low tides, all you need in order to dig them are a permit, an implement to dig the clams out of the sand and a container to put the clams in once you have found them. While this sounds simple and straightforward, there are a few things you need to know before rounding up the family and heading out to dig razor clams. By following these rules, regulations and tips, you’ll ensure your clamming day on the coast will be safe, healthy and legal.
Head west to our nearby beaches and try your hand at finding and digging for these local, delicious mollusks. Known as razor clams and found during low tides, all you need in order to dig them are a permit, an implement to dig the clams out of the sand and a container to put the clams in once you have found them. While this sounds simple and straightforward, there are a few things you need to know before rounding up the family and heading out to dig razor clams. By following these rules, regulations and tips, you’ll ensure your clamming day on the coast will be safe, healthy and legal.
What to Bring
Permit
Without a permit, you can’t legally go clam digging. Everyone in your party who is 15 years old and up is required to have a 2017-18 license to harvest razor clams on any beach. The licenses for clamming can be purchased on WDFW’s website or from license vendors found all around the state including common places such as Fred Meyer.
You can choose a license based on how long you plan on going clamming this season, with options ranging from a three-day razor clam license to an annual combination clamming and fishing license. A three-day license is recommended for most and is a bargain at $9.70, unless you plan to head out multiple times during the year in which case you can get an annual license for just $14.10. A thrifty activity considering kids under 15 are free.
Once you have licenses in hand, there are a few rules to follow. First, each digger is allowed to take up to 15 razor clams per day. You are legally required to keep the first 15 razor clams you dig, no matter the size or condition you find them. The clams also must be placed in a container and each individual clammer must carry their own clams. Combining containers is a violation of the rules and regulations and you will more than likely get ticketed if caught as beaches are patrolled by WDFW officers.
Clamming Tools
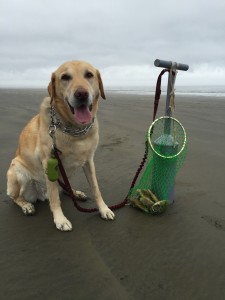
To dig a razor clam you have two main options – a shovel or a clam “gun.” Beginning clam diggers should use a clam gun which is a metal or PVC tube that you twist into the ground and pull out the sand all around the clam. This is the easiest and simplest method of getting your limit of razor clams, but still will take some getting used to. Advanced clam diggers use shovels, but digging for razor clams with a shovel requires patience and practice before you can use them quickly and effectively. For tips and videos on how to use both a shovel and clam gun, head over to the WDFW website, which also has great clamming advice.
Warm Clothes and Lights
During the fall and winter clam digging season, the best tides are found at night when it is often cold and wet. Be smart, safe, warm and dry by layering your clothes, making sure to include a sturdy pair of rubber boots or better yet a pair of waders. Good rain pants, a warm hat and a trusty rain jacket finish off the outerwear. By layering your gear, you will be ready to remove pieces in case the weather gets nicer or you get warm from all that digging. Always assume it will be wet and cold, though, and do not head out unprepared. You also need to bring a lantern or headlamp to help you spot the clams on the dark beaches.
Where and When to Go Clamming
Razor clam populations and the health of the clams can fluctuate, so it is important to know what beaches are open for each clam dig tide. From Kalaloch Beach in Olympic National Park down to the southern end of the Washington Coast along the mouth of the Columbia River, there are five beach regions allotted for razor clam digging. Check the time of the upcoming tides and which beaches are open before heading out. The lower the tide, the better the razor clam digging will be. Keep in mind that most clam digging dates are centered around the lower tides. During the fall and winter digging dates, low tides most often take place in the evening while late winter and early spring tides allow for daylight clam digging.
The full list of clamming dates and open beaches can be found on the Department of Fish and Wildlife’s (WDFW) website, which is updated often. Remember to always follow all rules and regulations about clam digging and driving on the beach.
Your five razor clam digging regions in Washington State are:
- The Long Beach region starts at the mouth of the Columbia River and heads north, all the way to the mouth of the Willapa Bay.
- The Twin Harbors region extends from Willapa Bay north to the south jetty at the mouth of Grays Harbor, found in Westport.
- The Copalis Beach region stretches from the north jetty at the mouth of Grays Harbor in Ocean Shores, all the way north to the Copalis River.
- The Mocrocks region sits between the Copalis River as the south boundary and runs north until it reaches the boundary of the Quinault Indian Reservation.
- The Kalaloch region runs from the South Beach campground, all the way north to Olympic National Park’s Beach Trail 3. Keep in mind that this beach is often closed to harvest.
How to Find a Clam
For a successful outing, plan to arrive at the beach and start digging about an hour or two before low tide. By starting early you can follow the outgoing tide, giving better views of clams and their activities.
When looking for clams, watch for one of three marks in the sand that are called “shows”. The most common is a dimple – a circular depression in the sand. The second is a doughnut – a small hole with raised sides that are easy to spot. The third is a keyhole – an hourglass depression found in dryer sand. A general rule of thumb is that the larger sized holes indicate larger clams, but this is not always the case.
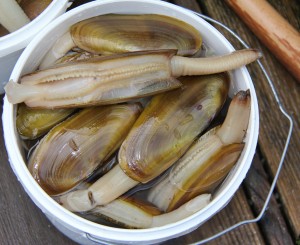
If you are extremely lucky, you’ll see razor clams “necking.” This is when the clams stick their necks out of the sand however this is somewhat rare. Once you spot a “show”, you need to be fast with your digging, as razor clams burrow quickly in the soft, watery sand. After you have successfully retrieved your clam, be careful as you grab it. Their sharp, elongated shells are the reason they are called razor clams. After rinsing and carefully placing it in your container, continue until you have your limit of 15 clams per person, per day.
Razor clams are only found along the Pacific coastline from northern California through Alaska and the wide, flat Washington beaches are the perfect venue to dig your own limit of these delicious delicacies. For a visual of what a day razor clamming on the Washington coast is like, you can view this informative video by the Washington Department of Fish and Wildlife.


